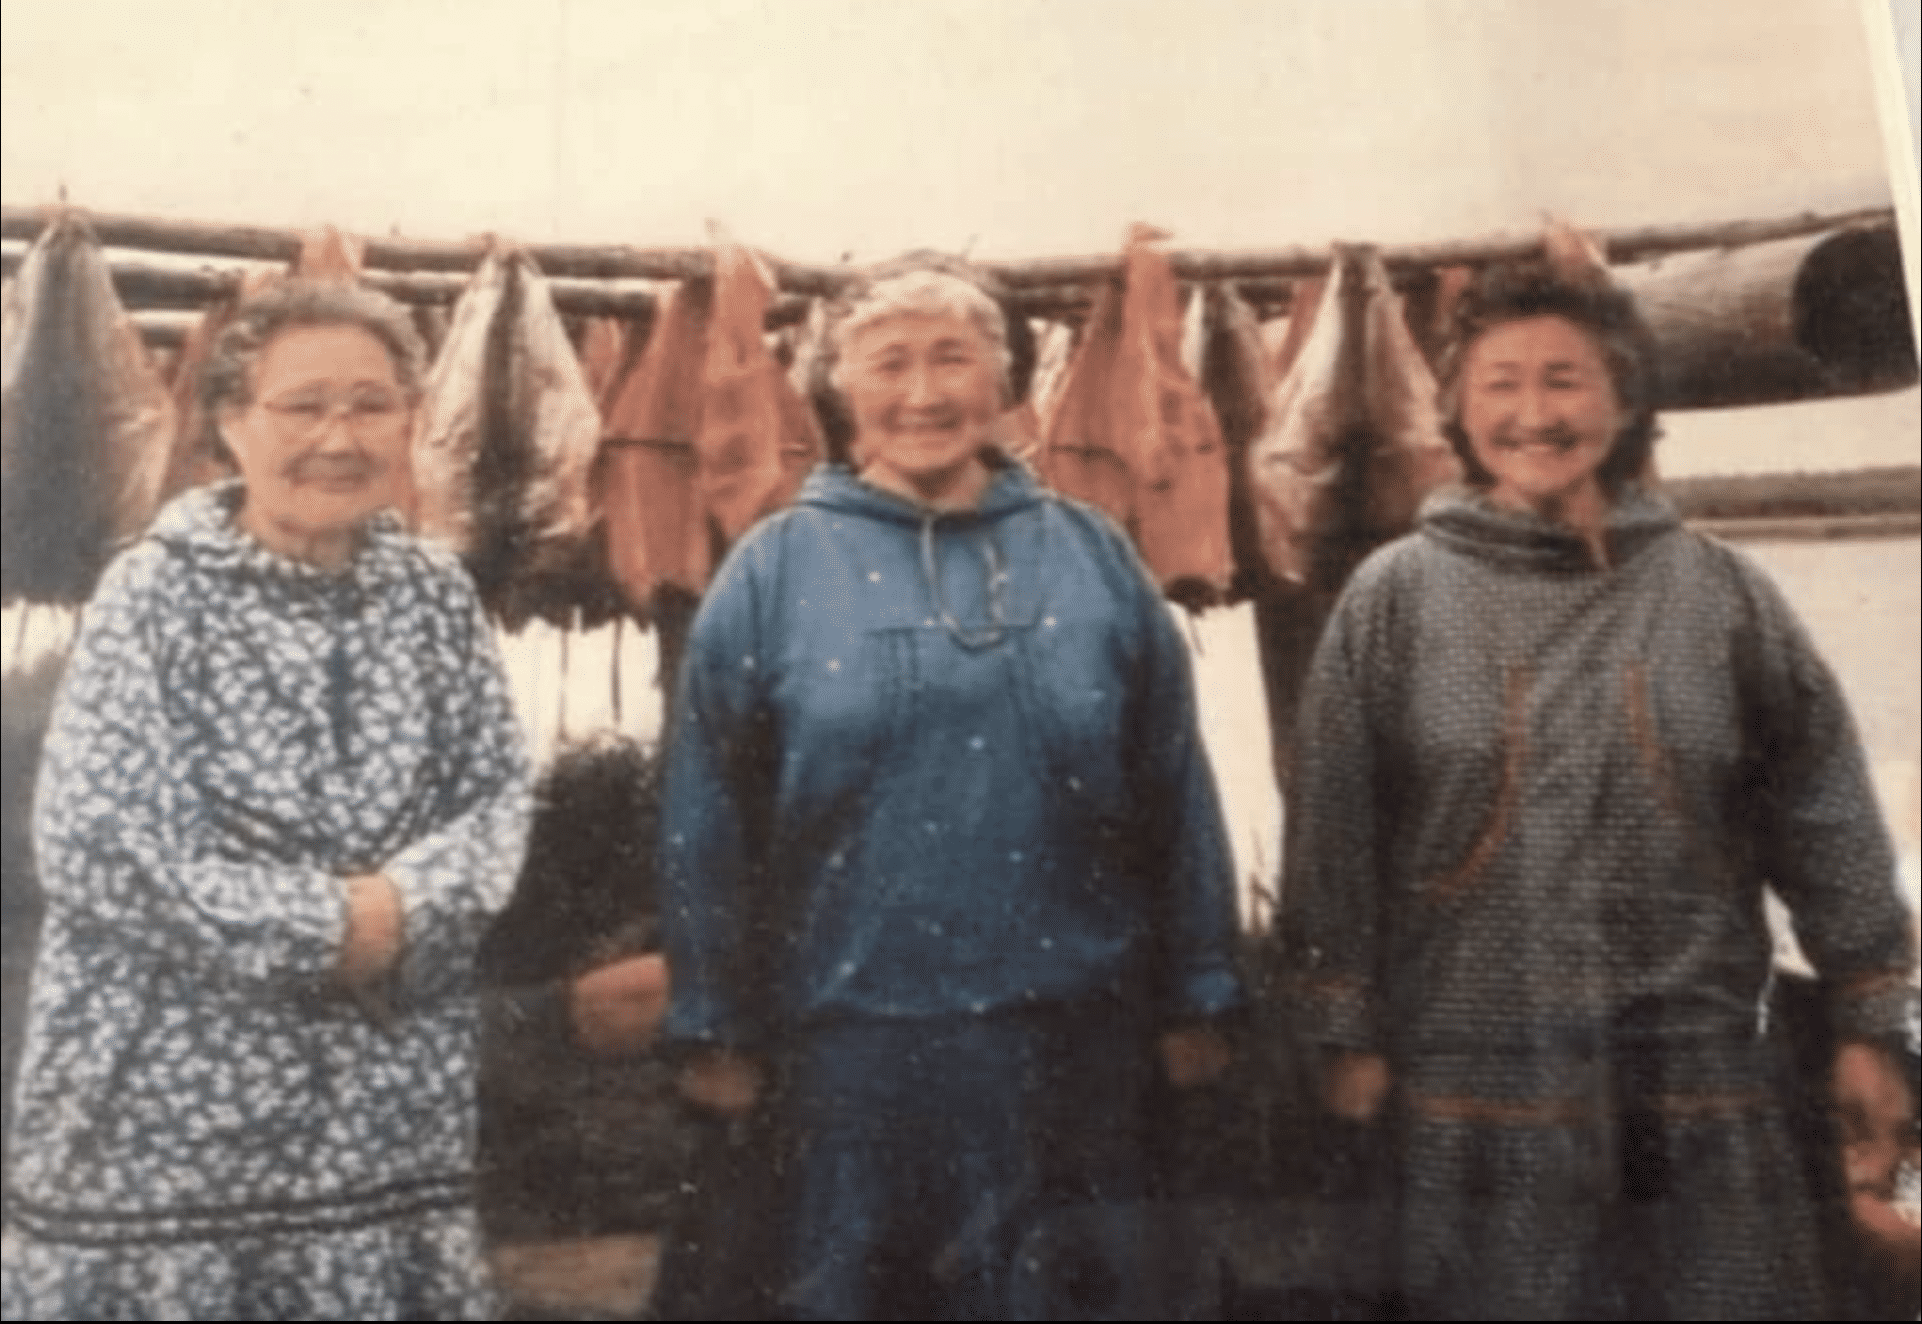
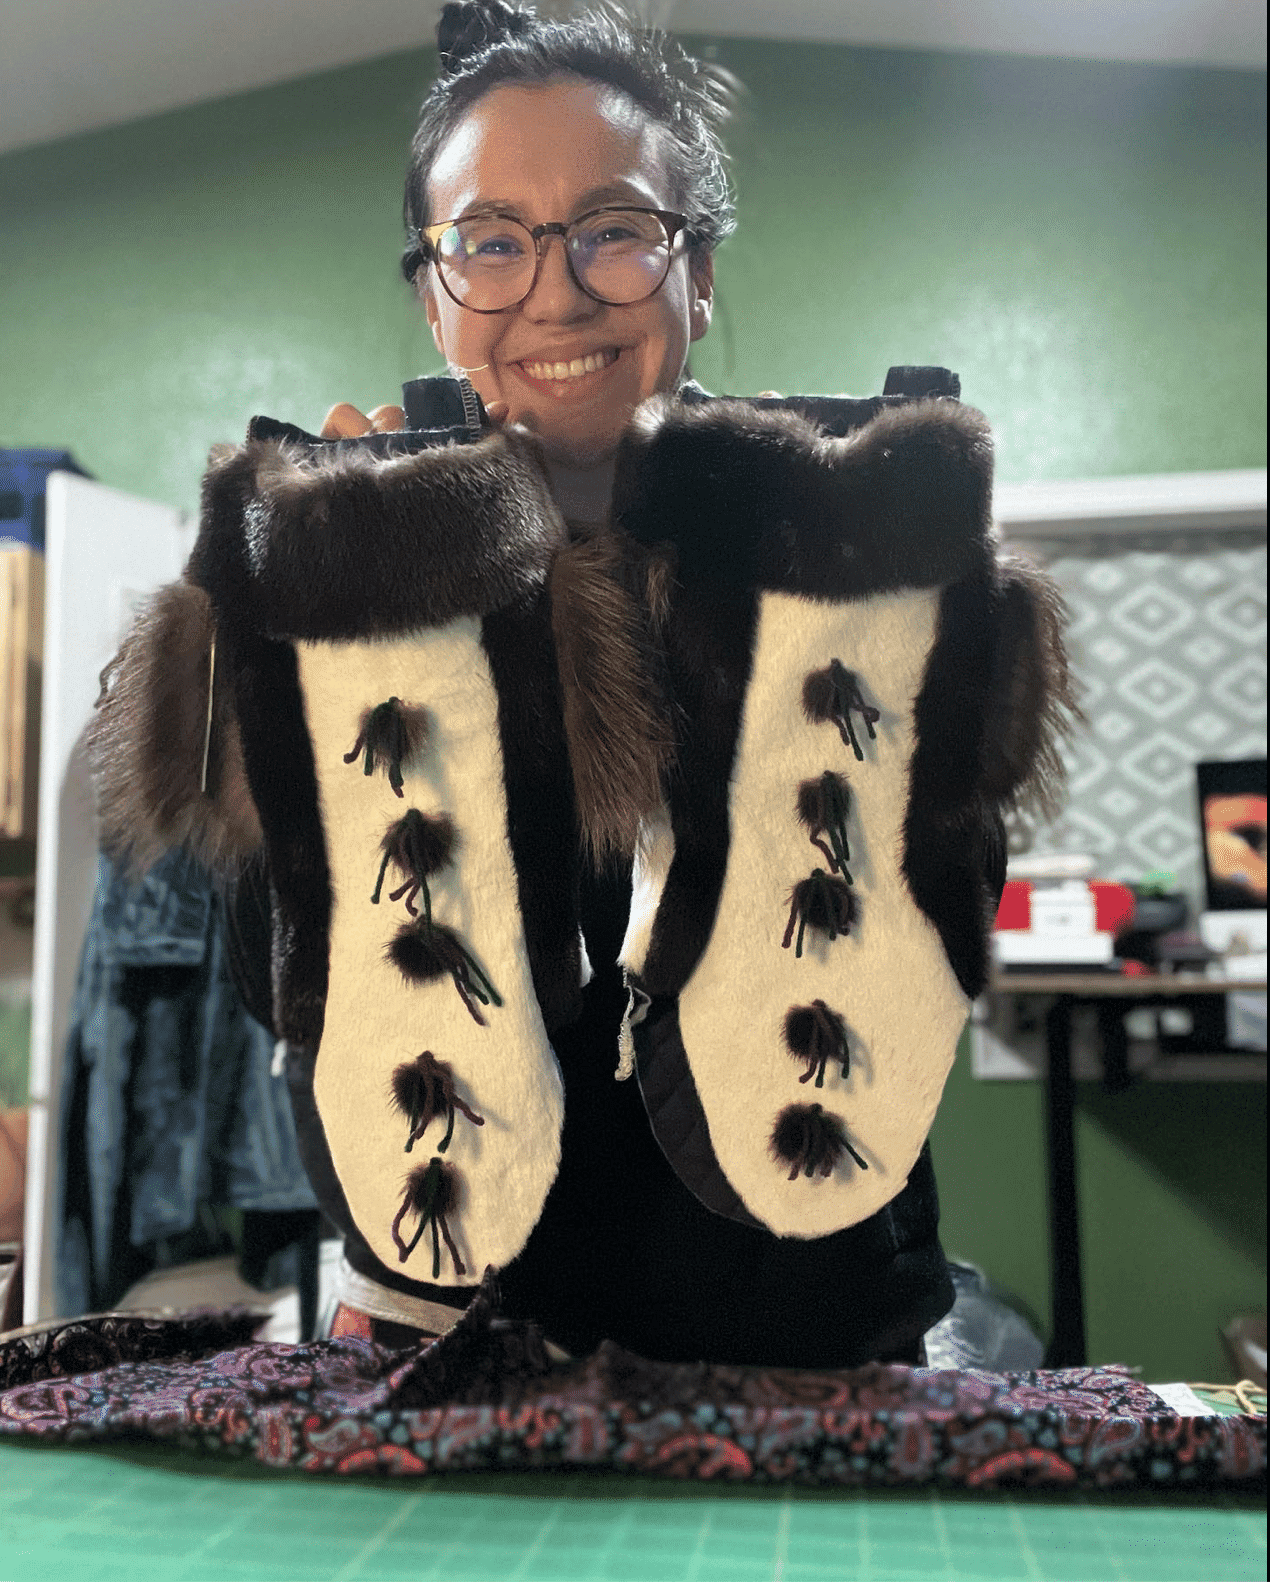
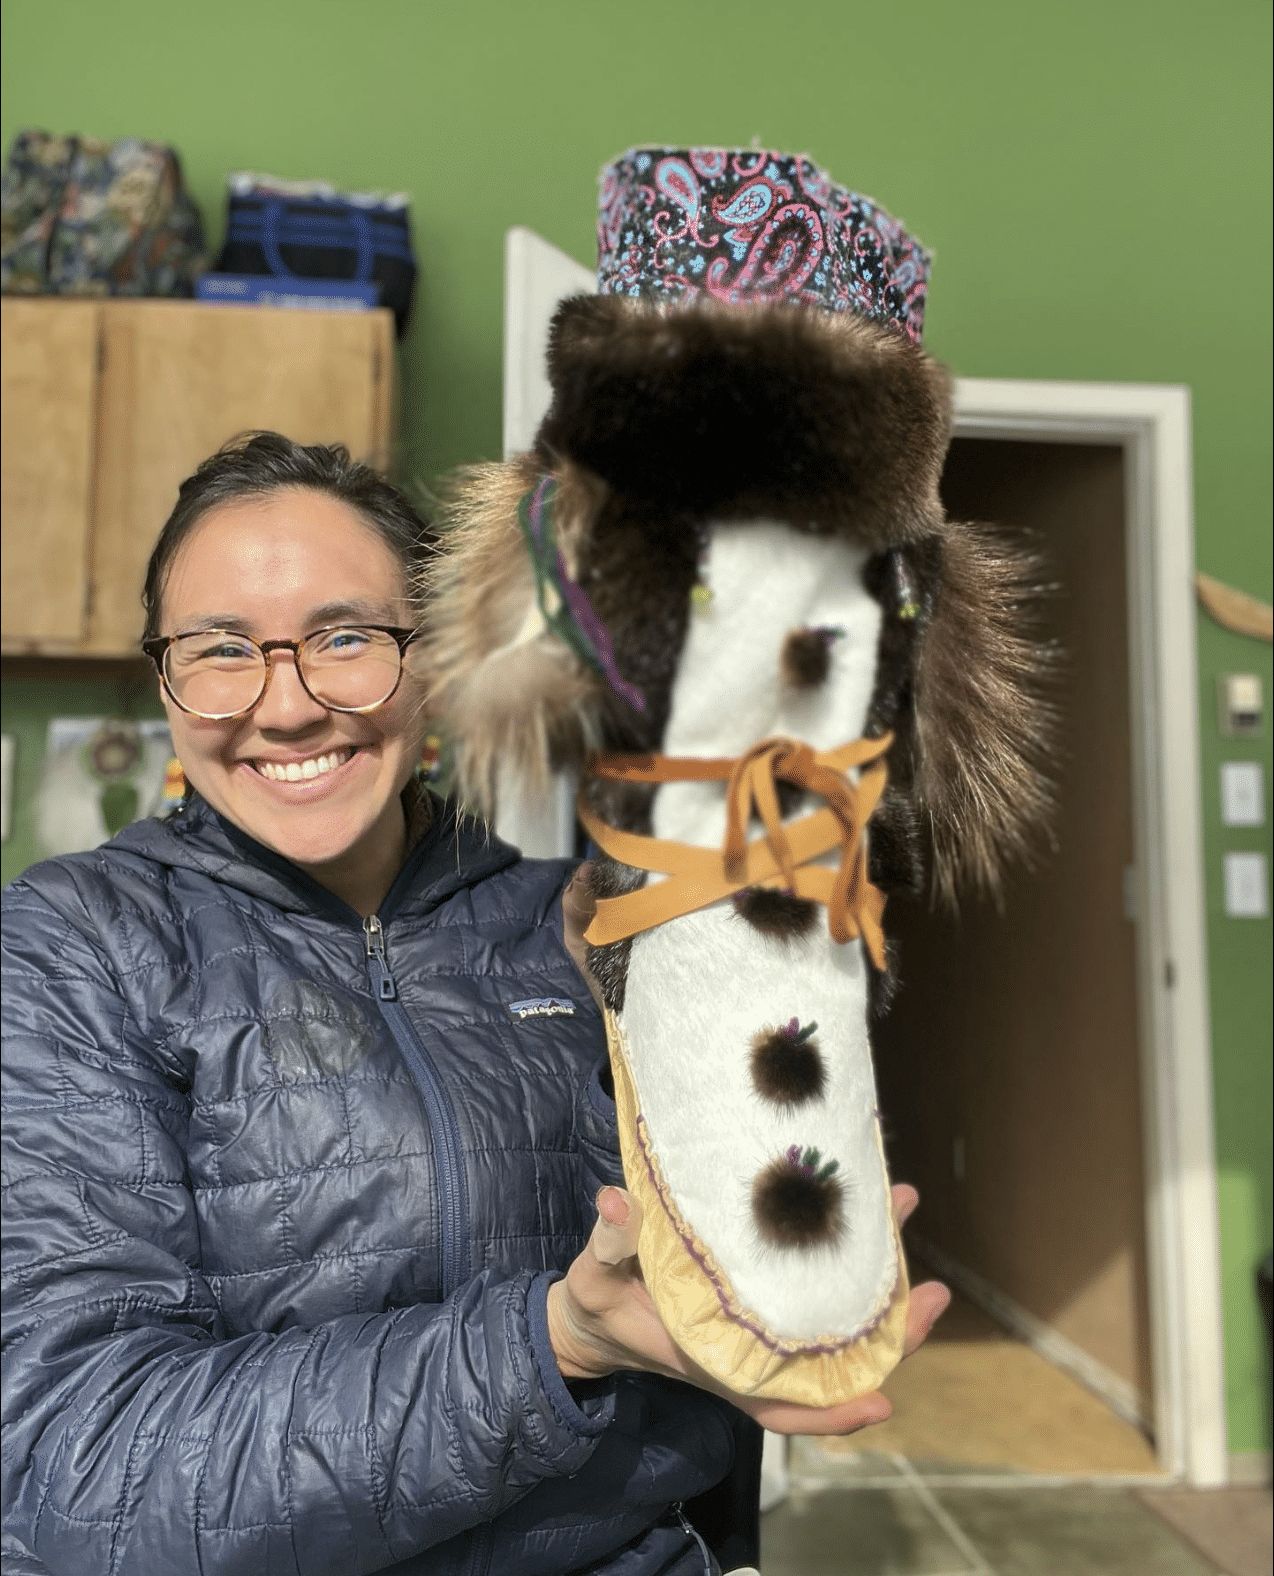
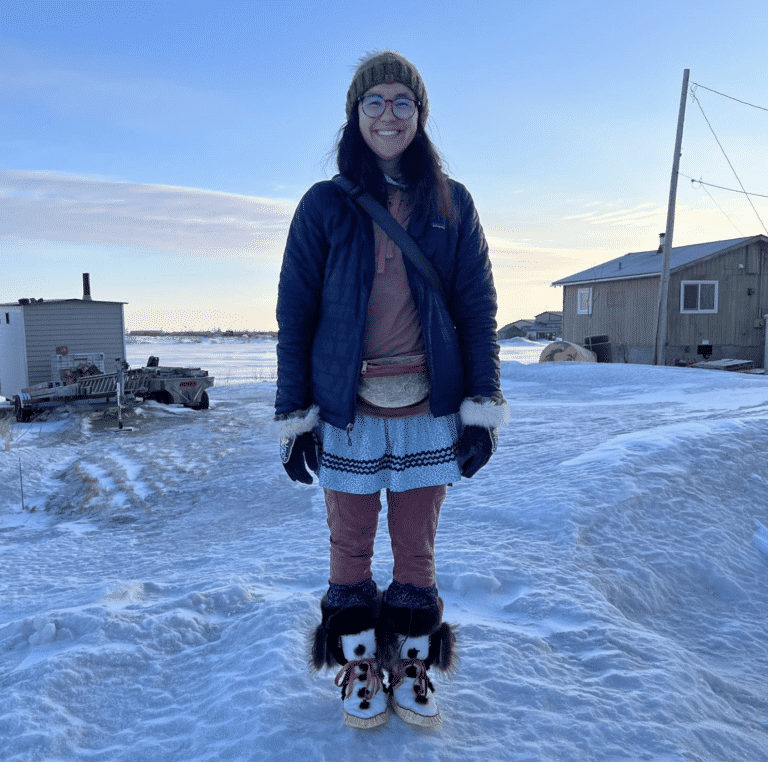
My dreams became a reality when I created my first pair of piluguk. Piluguk in Yugtun translates to skin boot. Here is the explanation of piluguk from the Yup’ik Eskimo Dictionary: piluguk skin boot clothing, and pilugug – to put on footwear; to dress. “He is putting on footwear.” Pilugugaa – “He is putting footwear on him.” I didn’t grow up watching my grandmothers, aunties or mom work on piluguk. I had never watched anyone making piluguk but I knew that when I got older and into sewing, I was going to make my dreams come true.
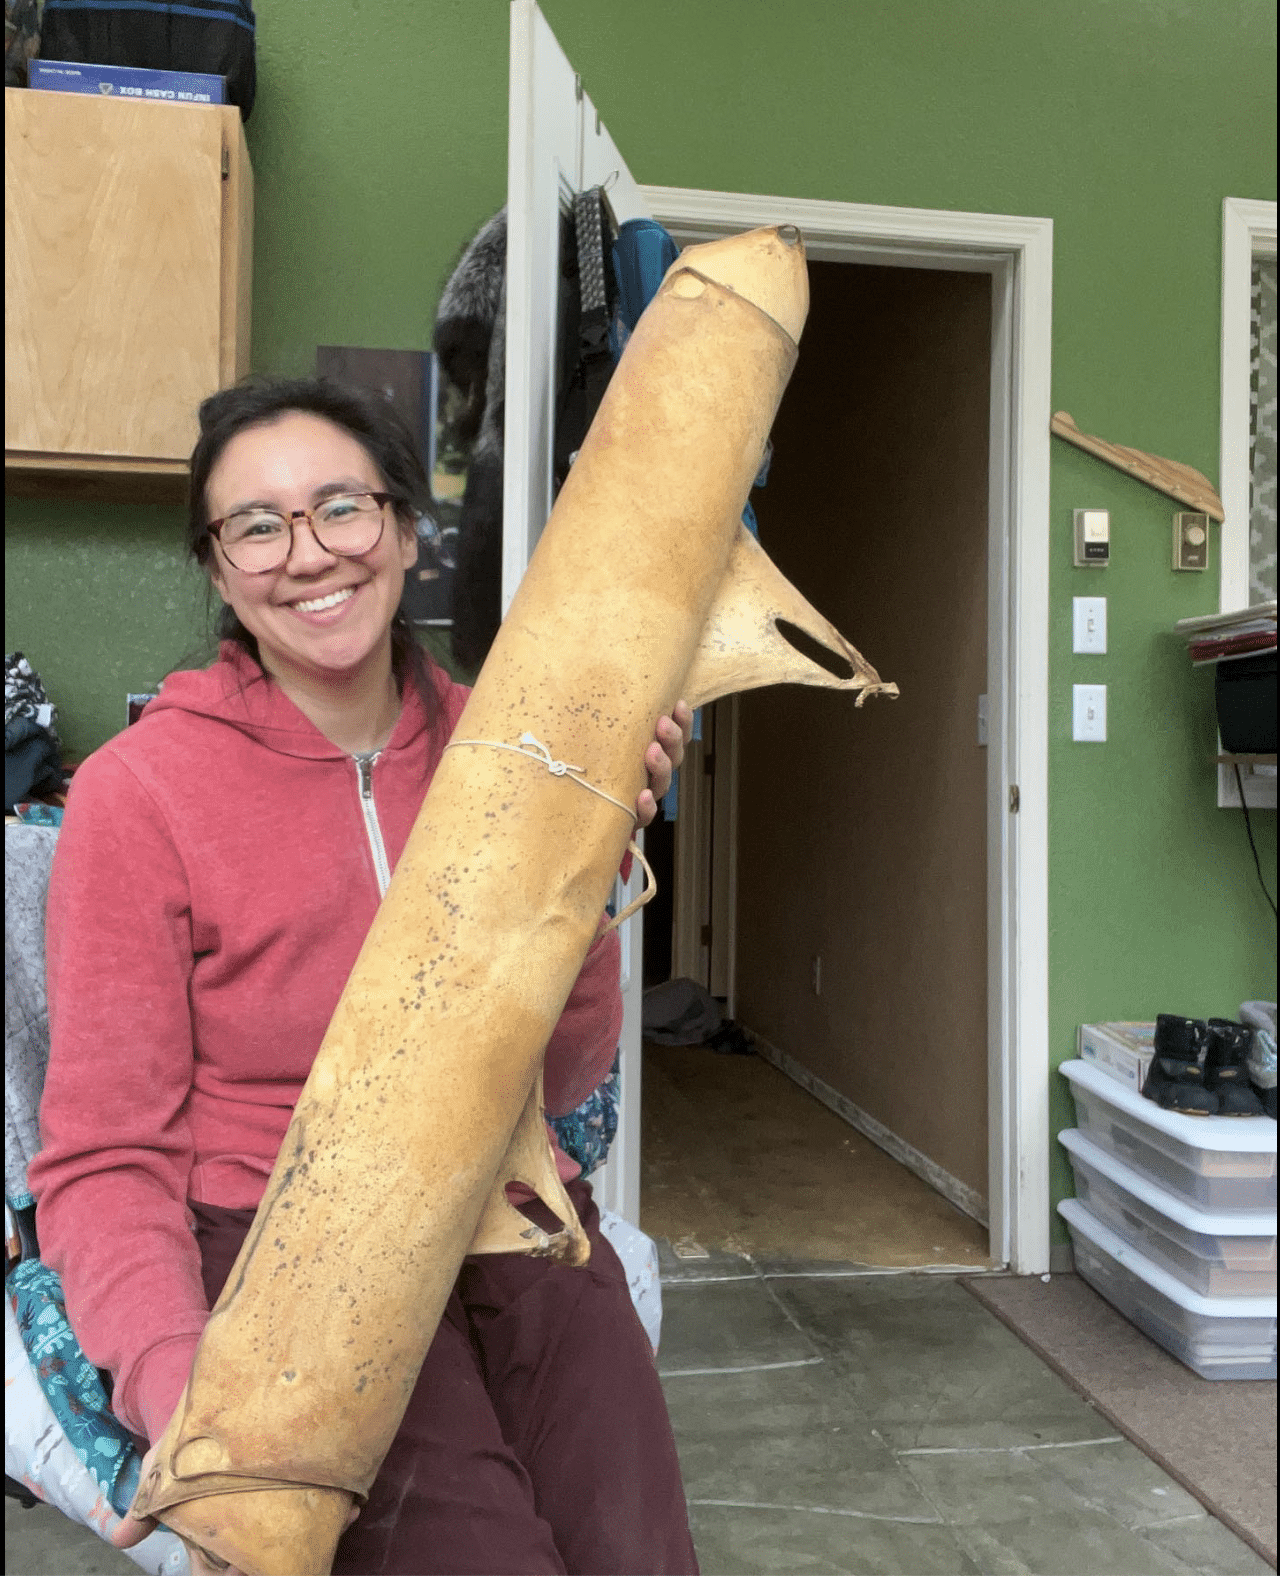
In 2015, I purchased my nat’raq from, I think, family out in Chefornak. I purchased it in hopes of learning how to make piluguk from an elder in Nunapitchuk. But I didn’t make the time to try and learn, and I missed my opportunity because she passed a few years ago, and I put my dreams on the back burner.
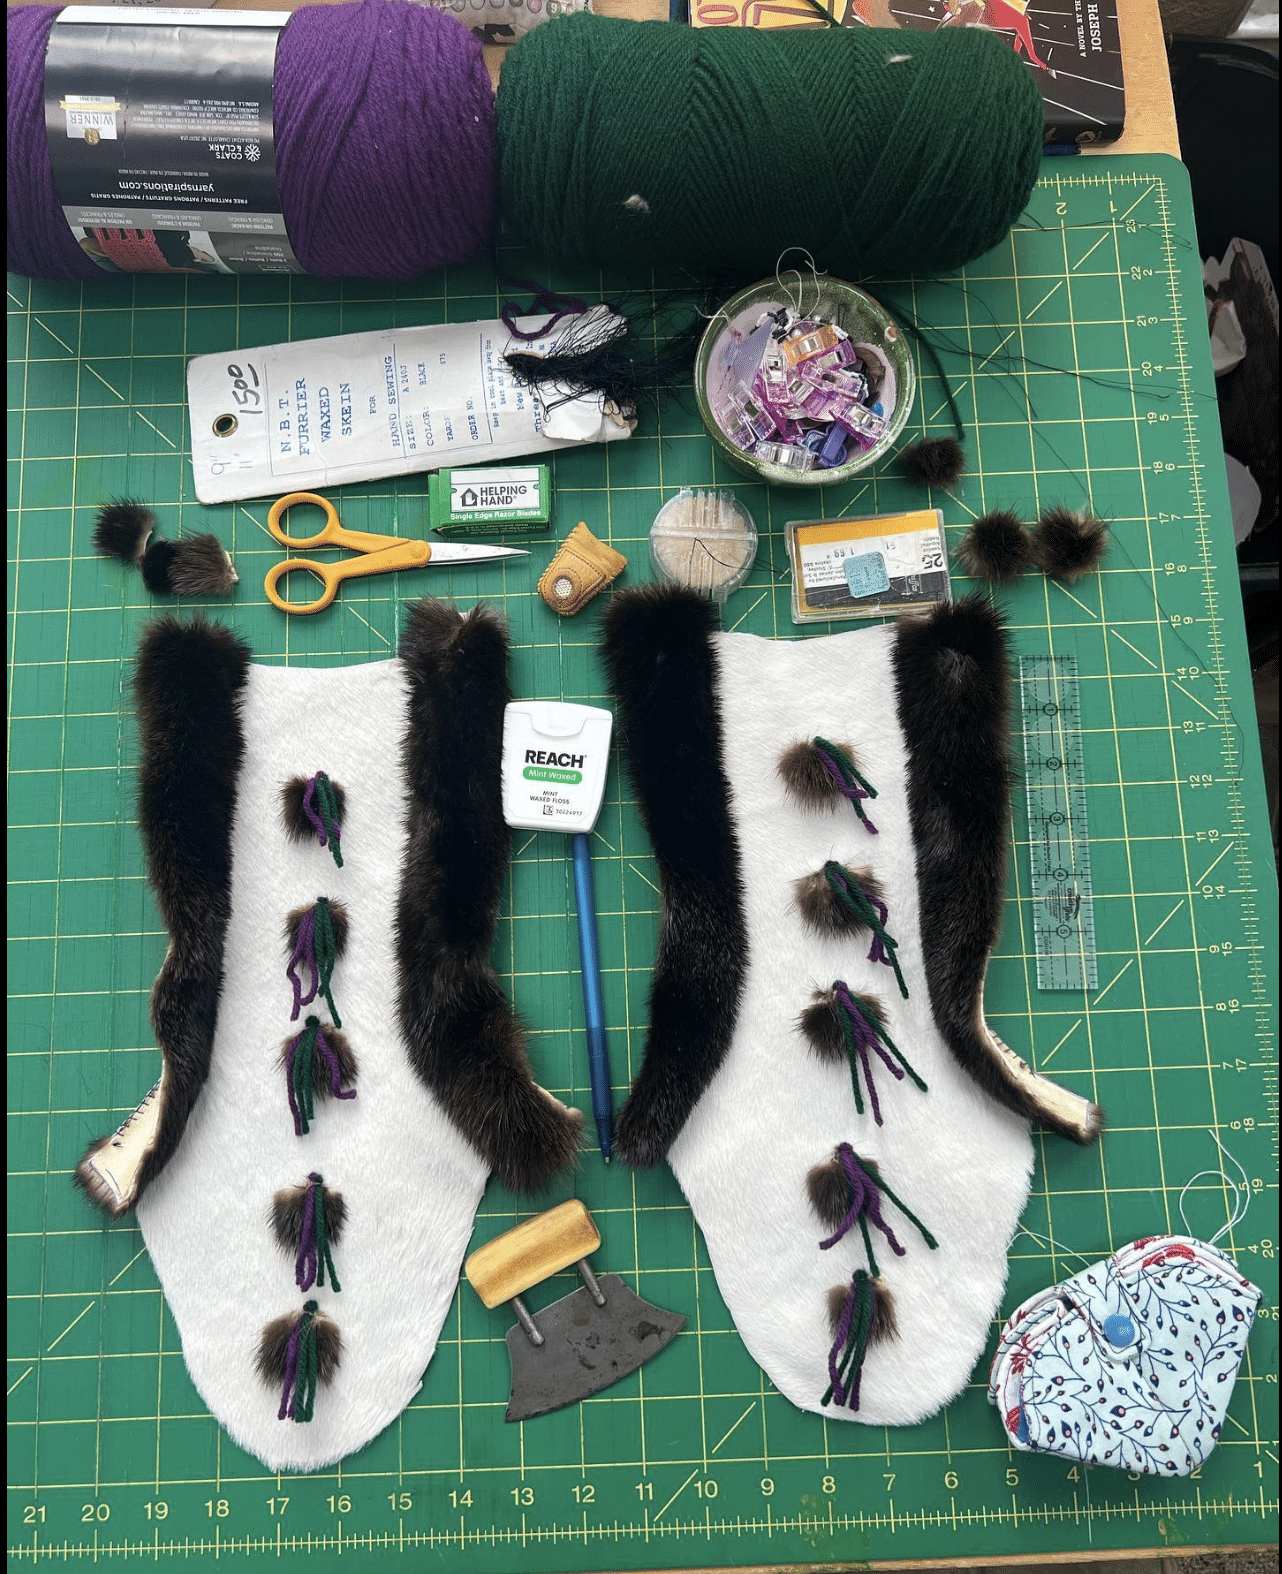
I had an opportunity to apply for a Graduate ARTShop project, and I jumped at it. I began my search to find a teacher who would be willing to teach me. And just my luck, I had a cousin (don’t ask me how, but we are related) reach out, and she said she was willing to teach me. I was excited beyond belief. I began my shopping for piluguk-making supplies. Here is the list: Calfskin, River Otter, sheared beaver, or sea otter.
Yarn for ciivaguat* and strings, beads if you want to decorate your piluguk, glover skin sewing needles size 5, 6, 7 (the smaller size is better for when you are working on hard sole), thread for skin sewing, wax for thread, corduroy for the top of the piluguk, lining material, nat’raq.
*Ciivaguat black beads between the decorative stitching on the calfskin panels of a traditional Yup’ik parka #literally: “things like flies.”
The pattern I used was shared with me by Margaret Dillon of Kuiggluk, who got the pattern from Mary Anaver of Qipneq. I am thankful for the pattern sharing, and I am willing to share it with anyone interested. Please send me a message at sewyupik@gmail.com, and I can share the pattern that I have.
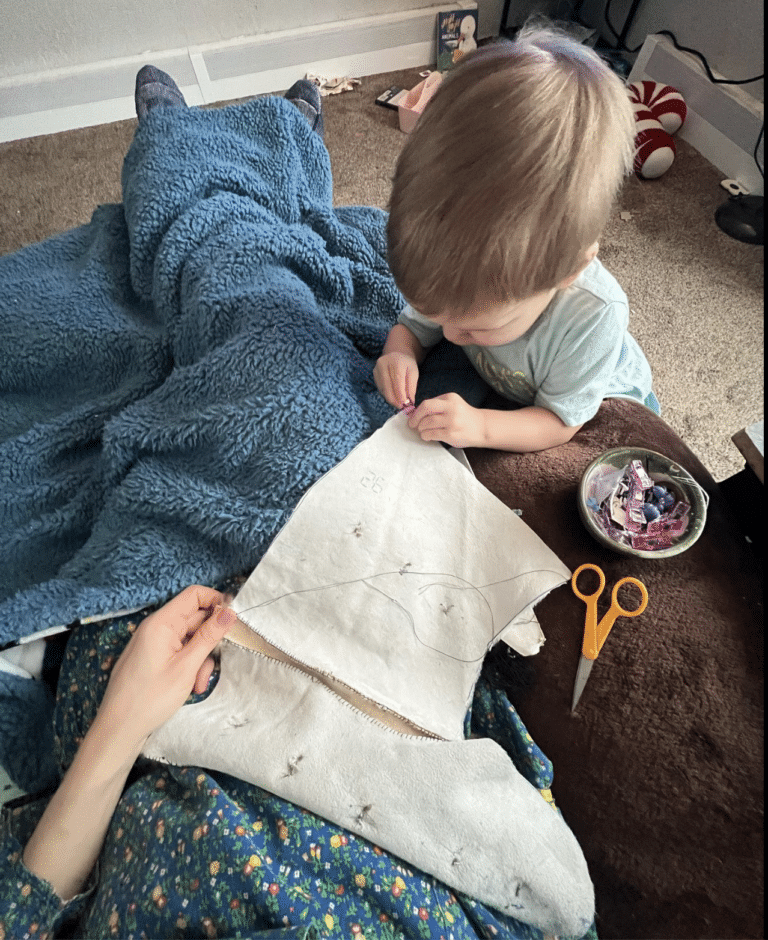
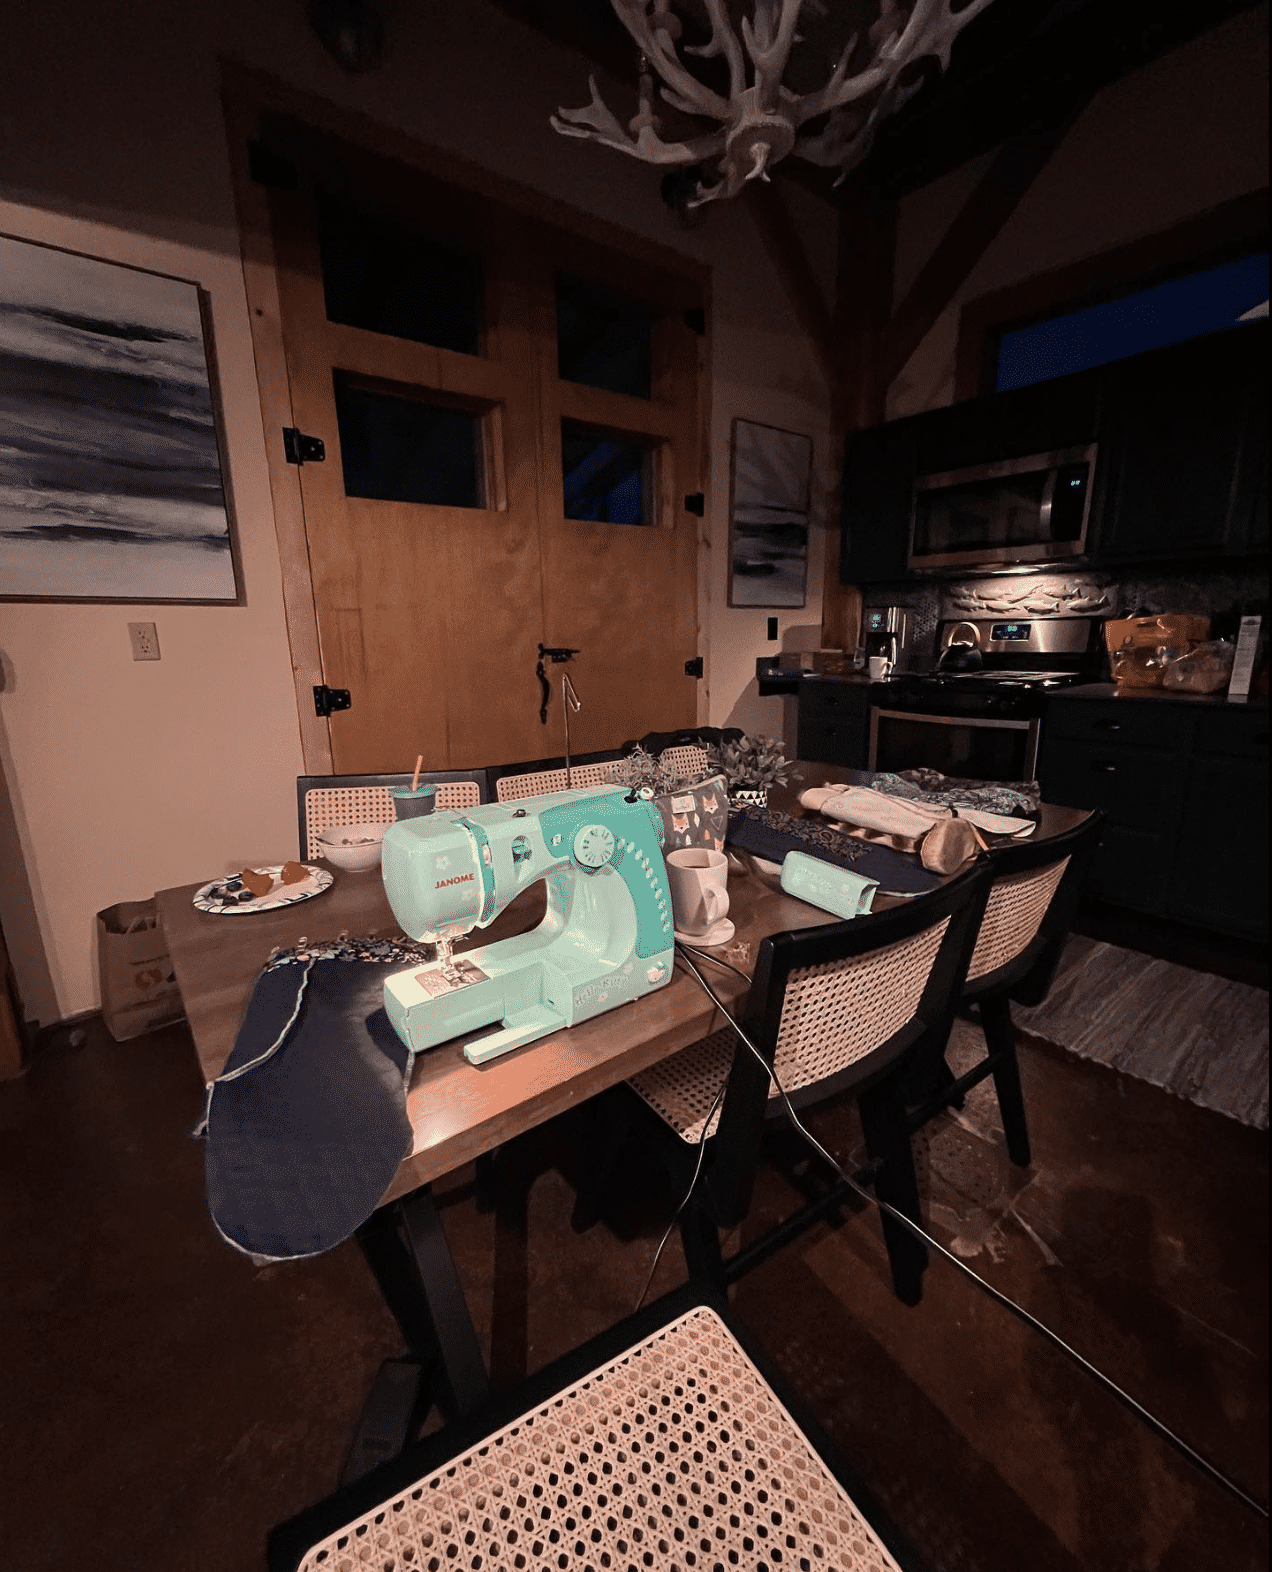
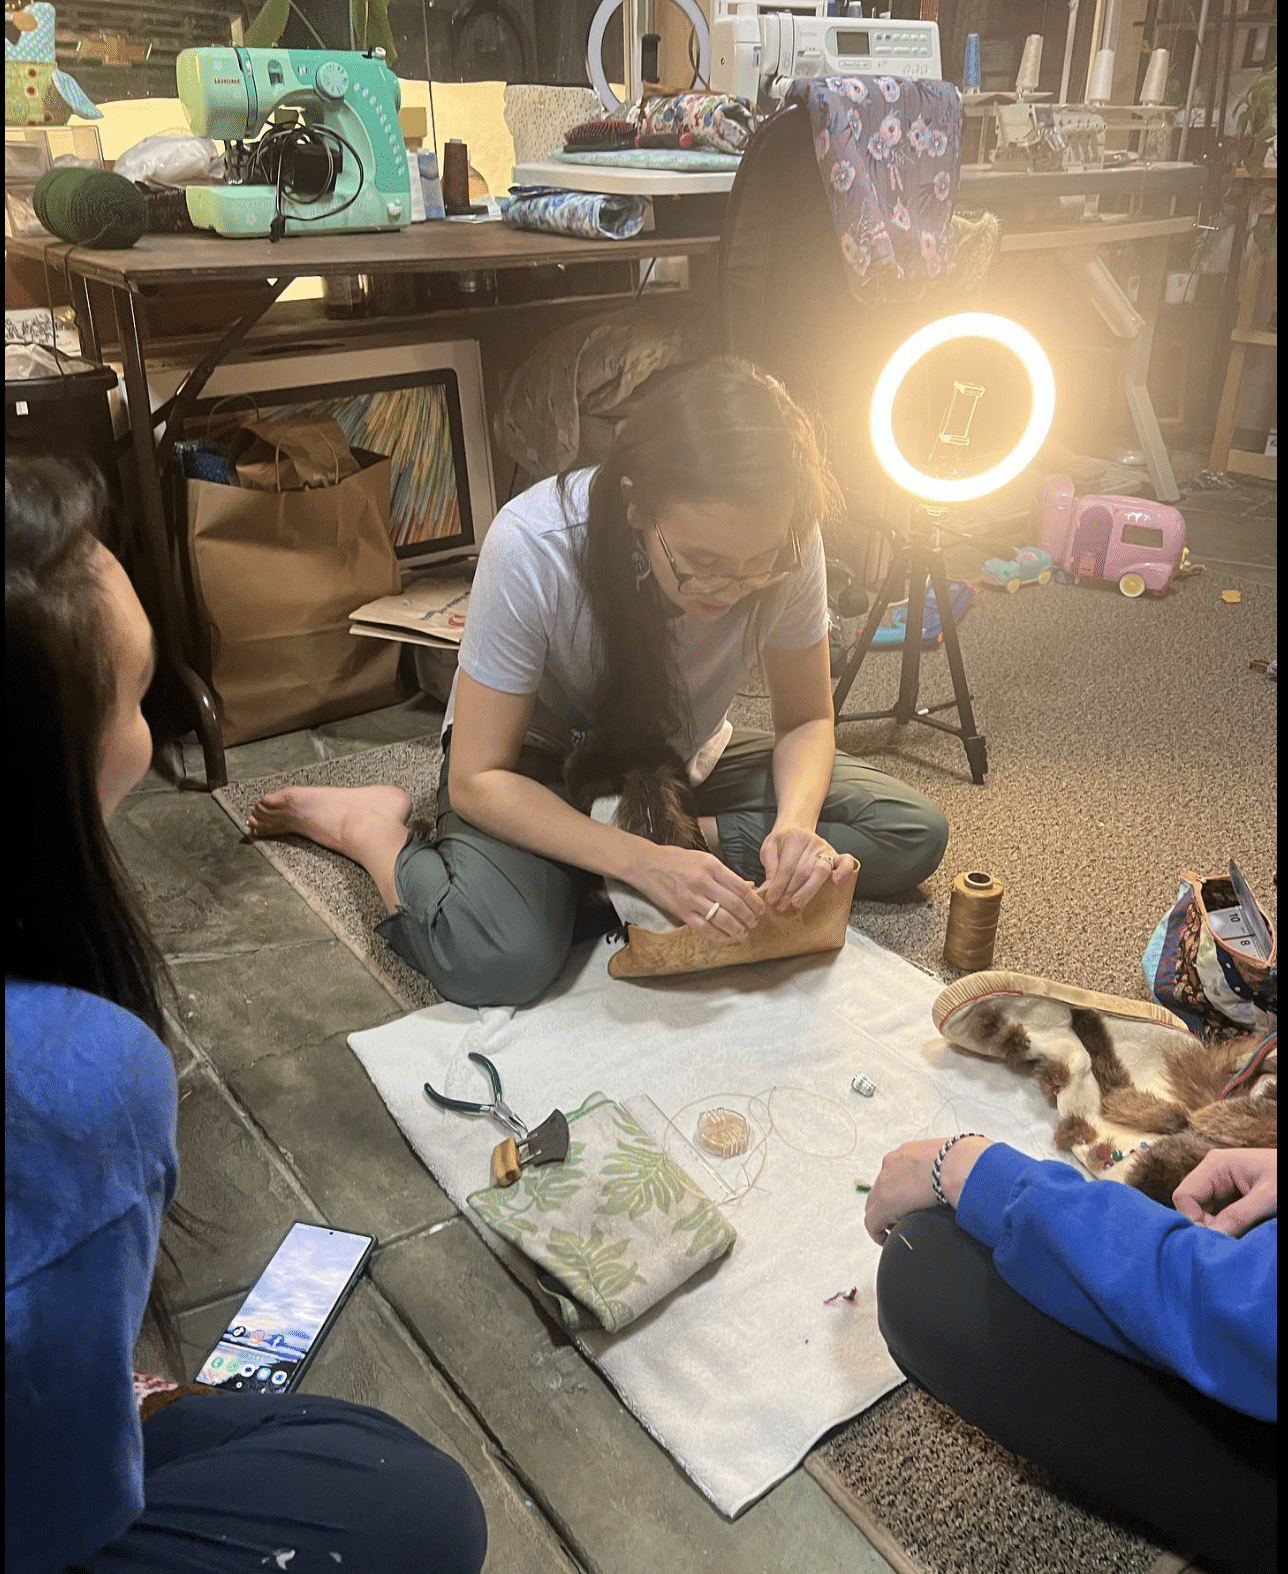
Margaret guided me as I started my piluguk-making over text and FaceTime. When I first started my project, I began documenting it on my Sew Yup’ik Facebook Page, Sew Yup’ik Instagram and Sew Yup’ik TikTok. I was very nervous to start and was even more nervous because I was opening the door to have people watch me as I started my sewing. But after I made the first initial cut and it started coming together, I became more confident. And that fear turned into excitement with each stitch.
With Margaret’s guidance, I was also using a pair of my grandmother’s piluguk that she had created. I felt so close to my grandmother while working on my piluguk and it made me miss her even more. But I was thankful to have her piluguk that she created and used them as the ultimate guide. I knew when I made my first pair, I wanted to replicate a pair that my grandmother Elena made.
This was my process of sewing together the piluguk:
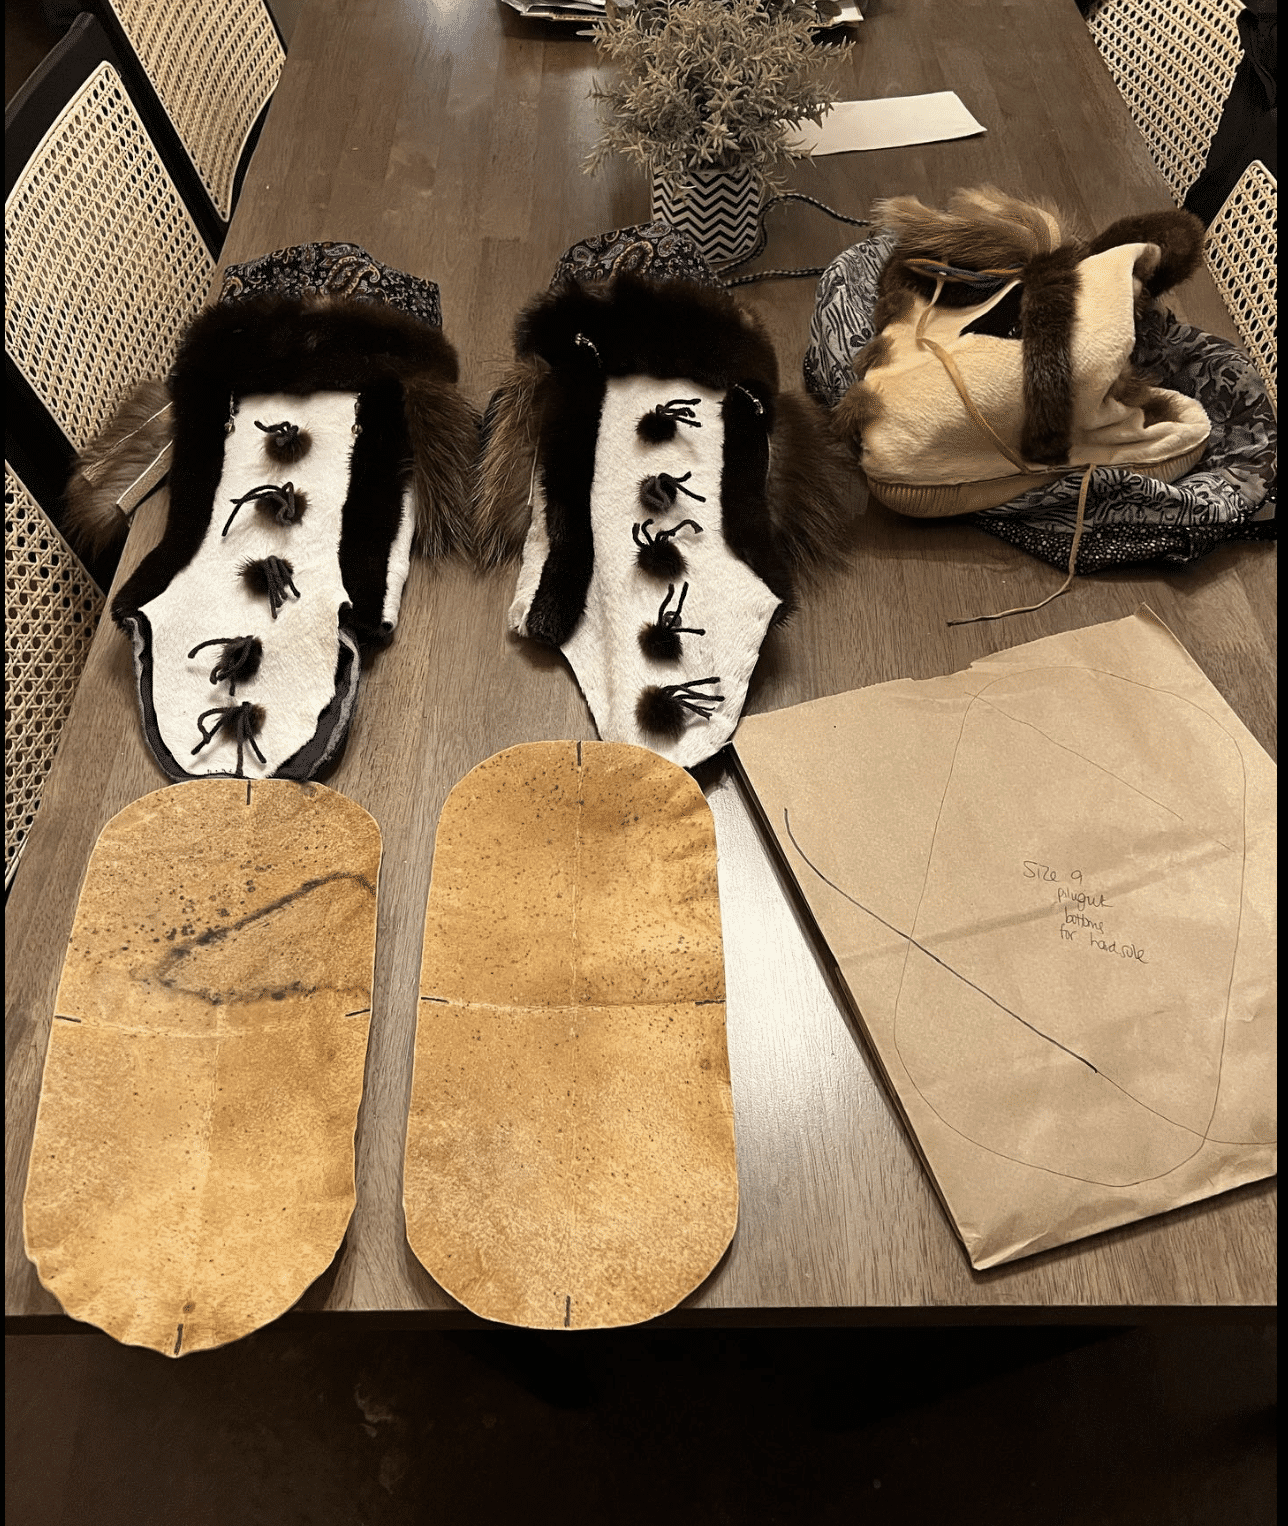
- Once you gather the supplies, you will decide where you want to put your piluguk from the calfskin. You always want to make sure that the calfskin is going down. Once you cut out the calfskin, you will decide if you want to decorate it with ciivaguat.
- Decide what you want to use for the sides; I used river otter, just like my grandmother. I also used river otter for the top portion. For measurements, I measured my grandmothers and used hers.
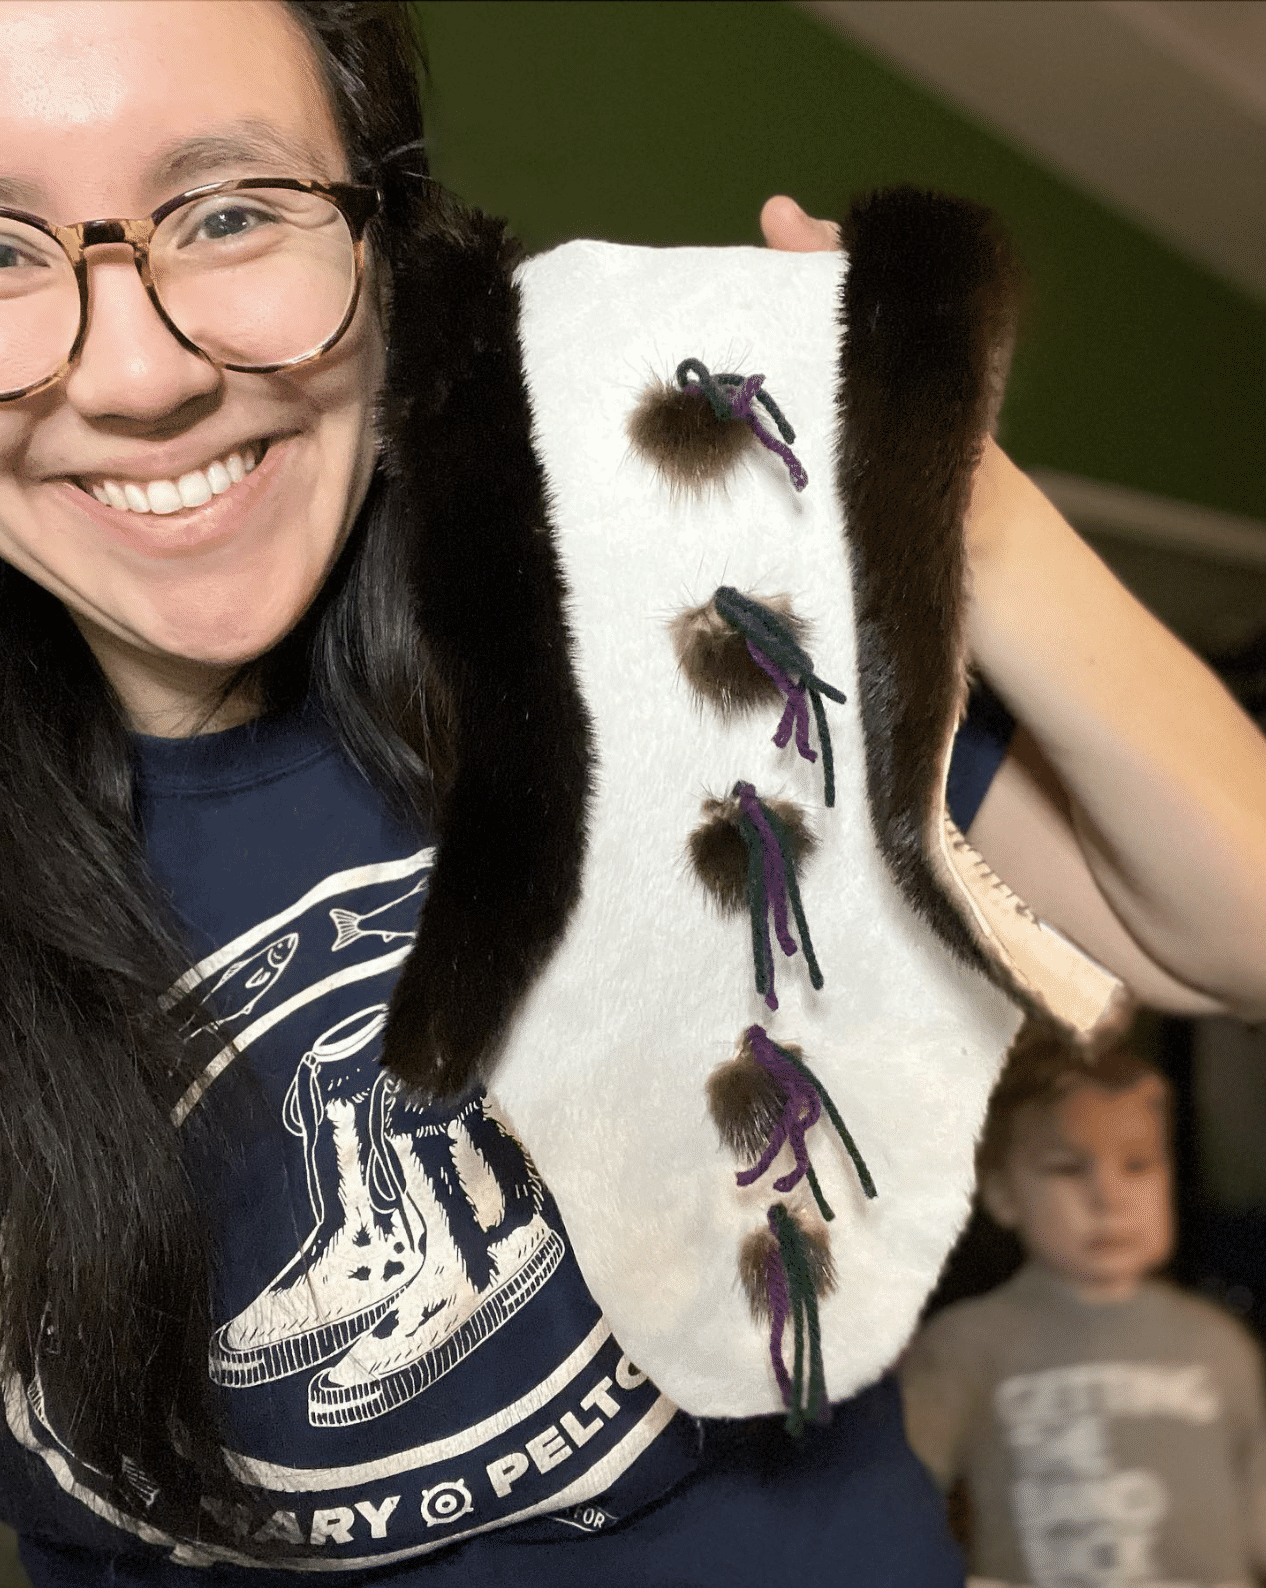
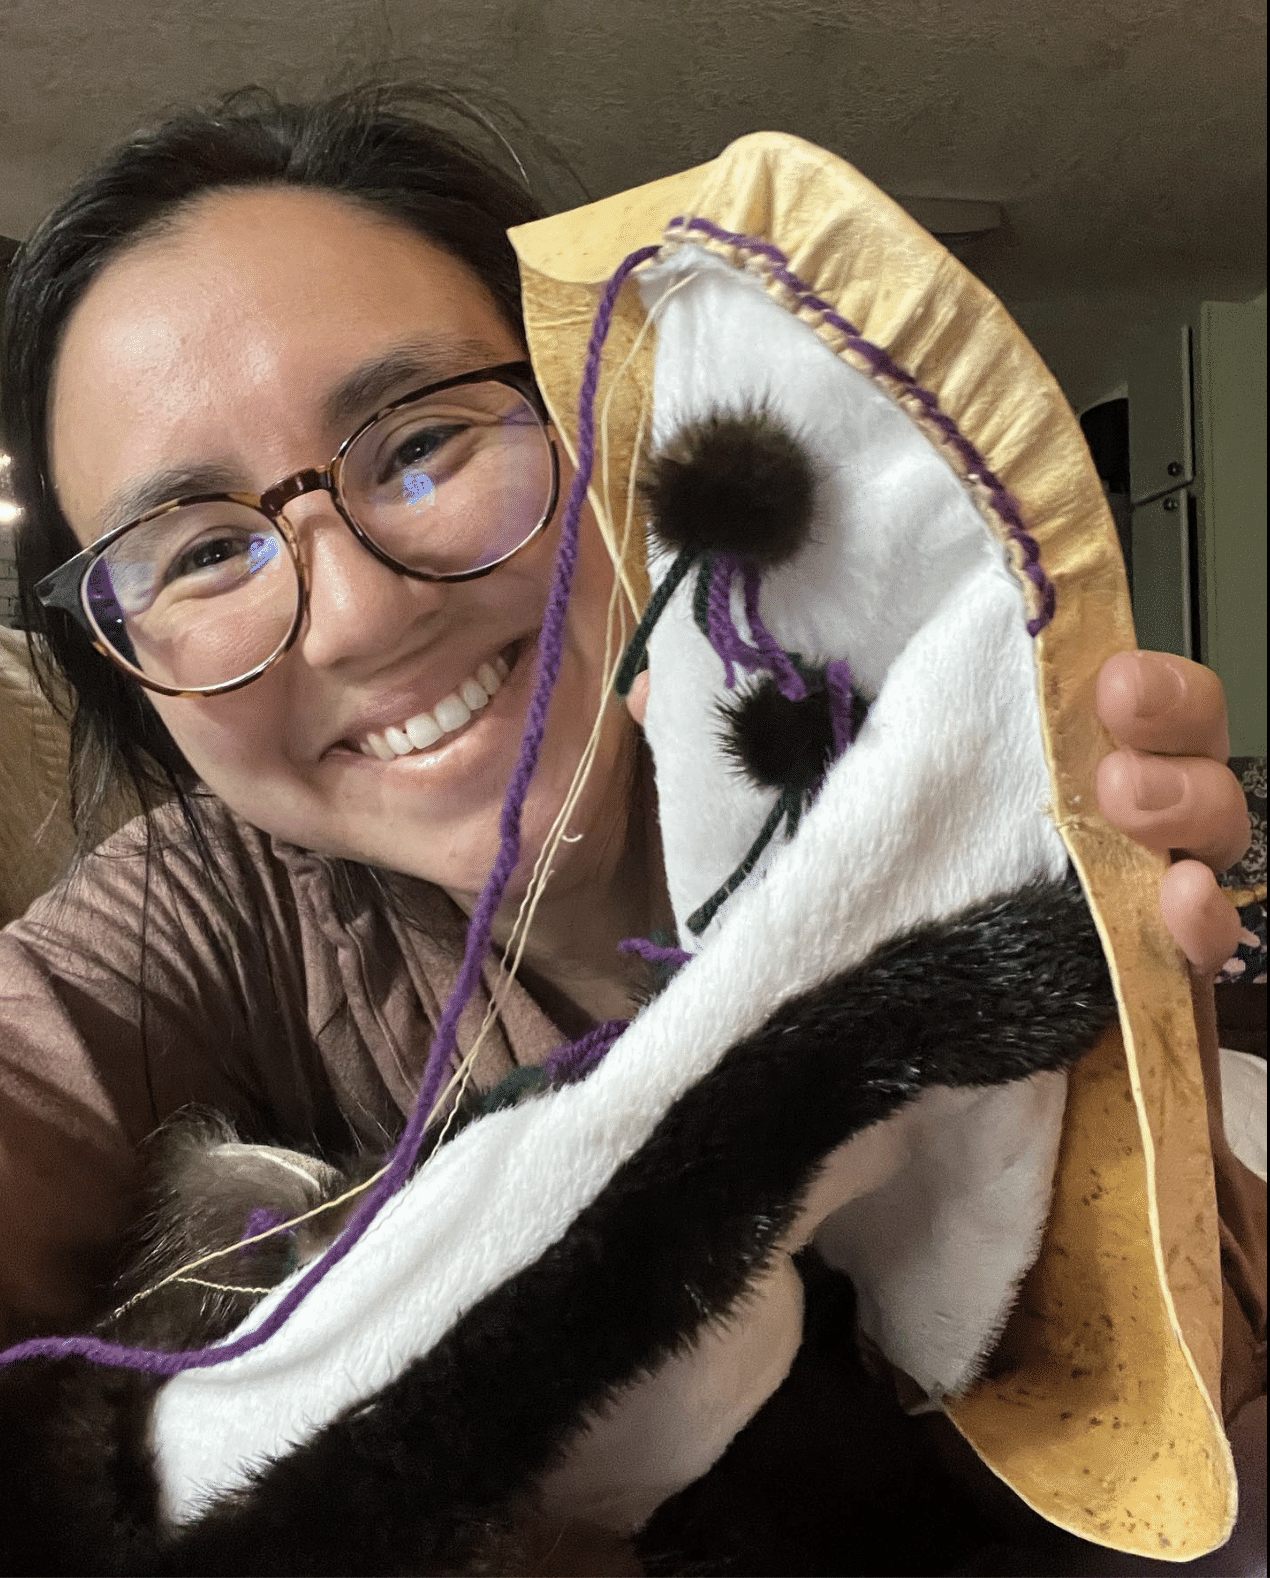
- Decorate your calfskin with ciivaguat (river otter), yarn and beads. And then, I added the two strands of beads on each side of the front.
After you decorate the front and back, you will sew on the strips of river otter tails to the calfskin starting from the bottom. Next, sew those pieces on the front calfskins. After attaching to both sides, you sew on the back piece calfskin.